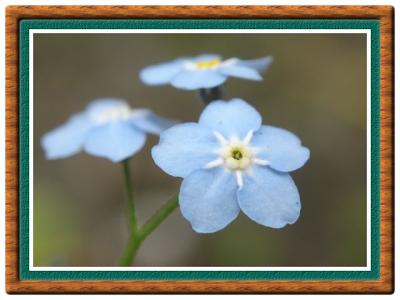
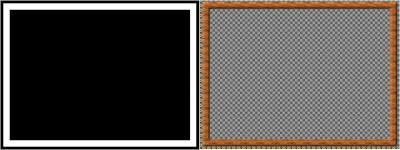
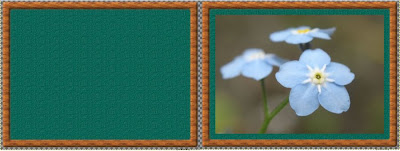
 The frame, as you can see above, intensively uses masks and bumpmap filters. It might be several other ways (for the rough steps given below) to produce equivalent effects.
Steps
- Create a new layer and draw the outline for frame (white over black); then blur it a bit (e.g. 10 px); name it "layer1" and make it invisible
- Create a new white layer and fill it with "Wood #1" pattern; name it "layer2"
- On "layer2" apply [Filters]-->[Map]-->[Bump Map] (bumpmap=layer1; depth=5)
- On "layer1" [Edit]-->[Copy]; activate "layer2" then "add layer mask" (white); click this mask and [Edit]-->[Paste] (anchor it if necessary)
- Still on the mask of "layer2", apply [Colors]-->[Levels] (input level 0;0.25;100)

- Create a new white layer and fill it with a pattern; name it "layer3"; continue with "Add Layer Mask"; you have to make a mask where the the boundary of the rectangle is within the filled area of "layer2"; make sure that "layer3" is positioned below "layer2"
- Now [File]-->[Open as Layers] and select your favourite picture; name this "layer4" and place between "layer2" and "layer3"; as in the step before, add a layer mask so that the visible area of "layer4" is a bit smaller than that of "layer3"
- As the final step, you have to select the boundary of the visible area of "layer4" then [Edit]-->[Stroke Selection] on a new transparent layer (placed above all previous layers)

Note
GIMP 2.4.6

No comments:
Post a Comment